2025
Now onto UVs. This will be a short as there’s not much to show, but a lot to learn. As i talked about in the previous part, the cockpit and the robot are treated as different asset, and have their UVs starting at 1001.
The robot
First, let’s talk about the Robot. We can categorize the UVs according to elements like material, left, right and center. The mechanical parts of the robot are on separate UV island from the beige panels.
It’s important to layout and cut UVs according to a certain direction, and keeping everything consistant. We can do that thanks to a checkered texture like shown below.
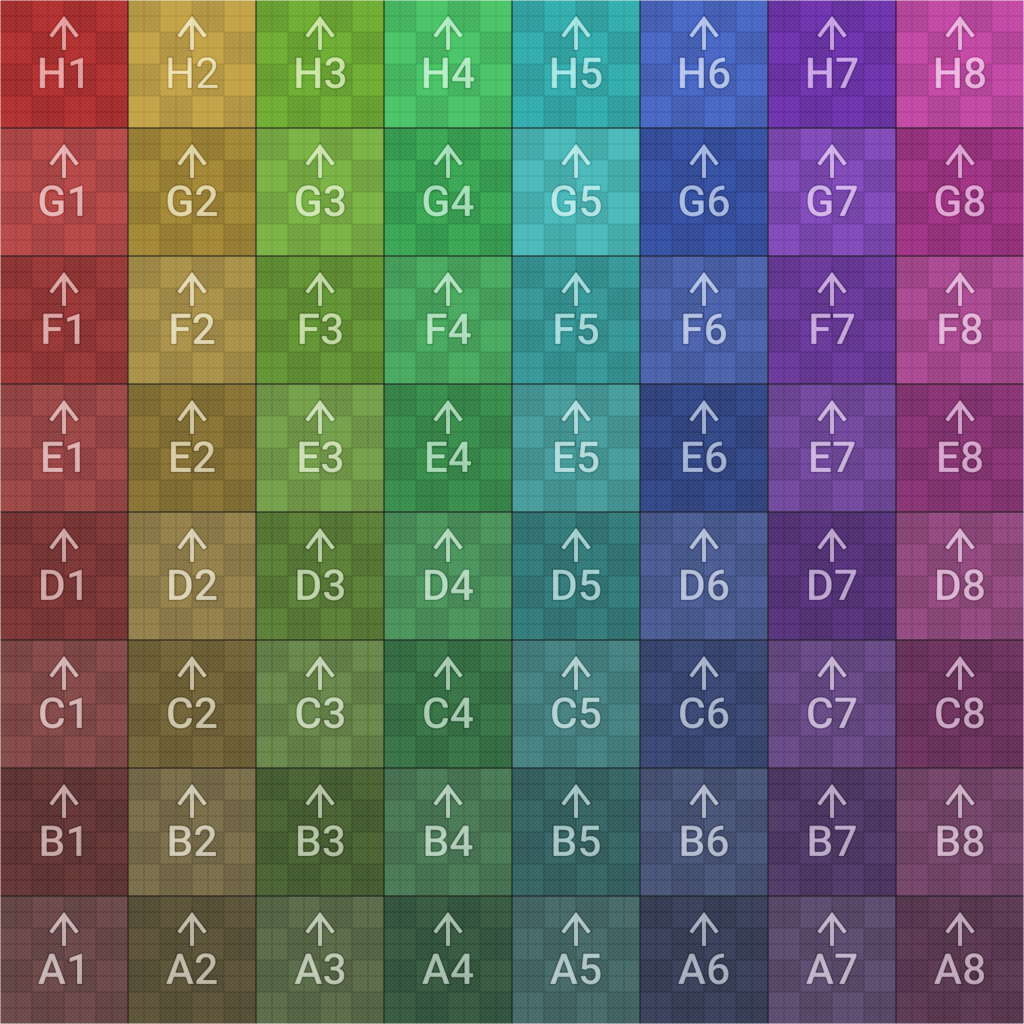
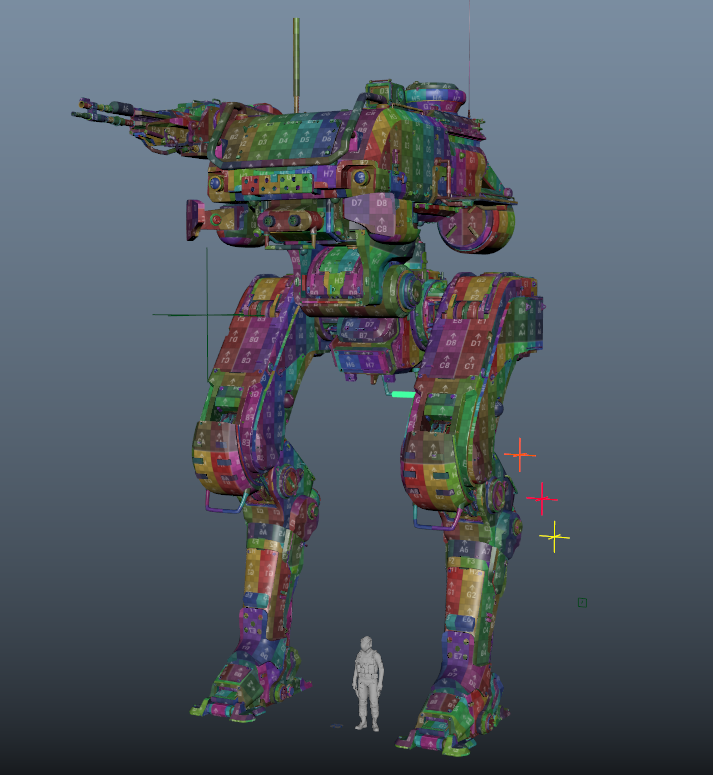
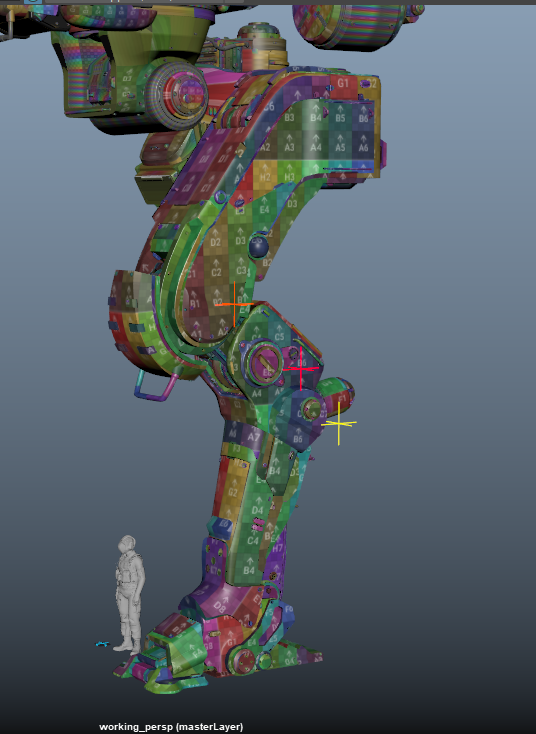
Here is the checkered texture applied to the mesh, as you can see, everything is the same texel density, and flowing in the same direction. Both these points are important. I layout the leg first, so I can mirror it, and get Andrew’s approval, then once I was sure that my method was okay, I started the head.
Here was my first try at the layout. For the texel density, I took the biggest piece of the robot, the head, put it in one UDIM, then I had my resolution.
To check if the resolution of the UVs is right, it is always good to put the mesh in a texturing program, and see if everything hold up well. It was good in my case.
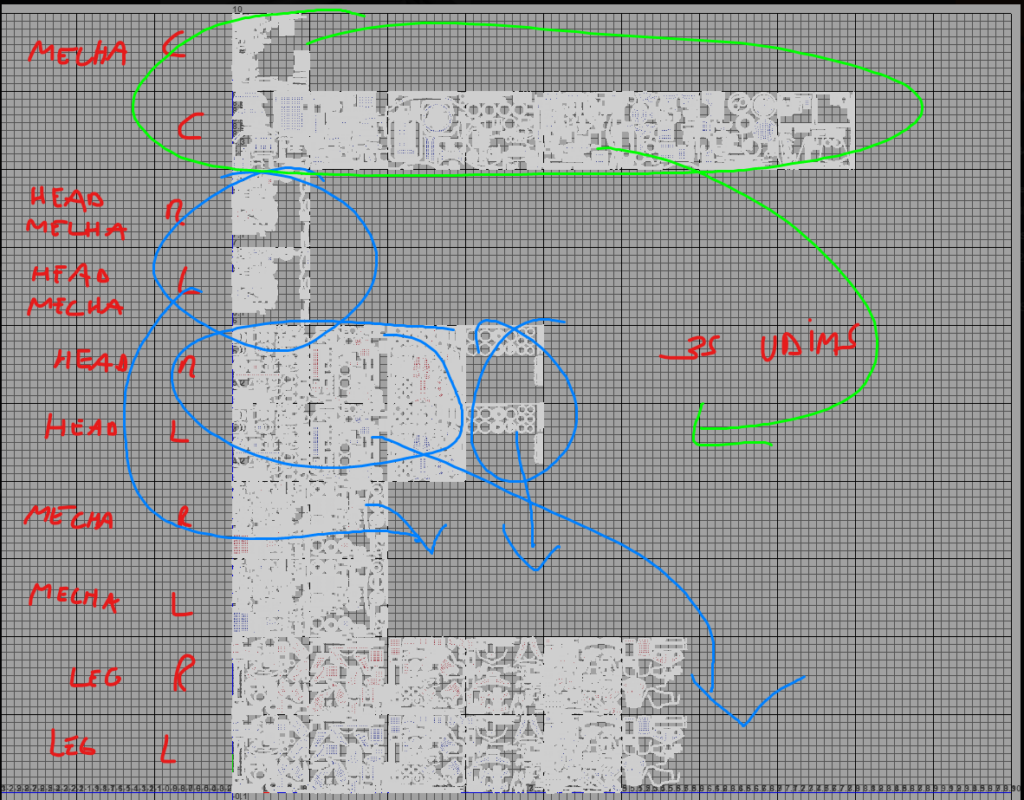
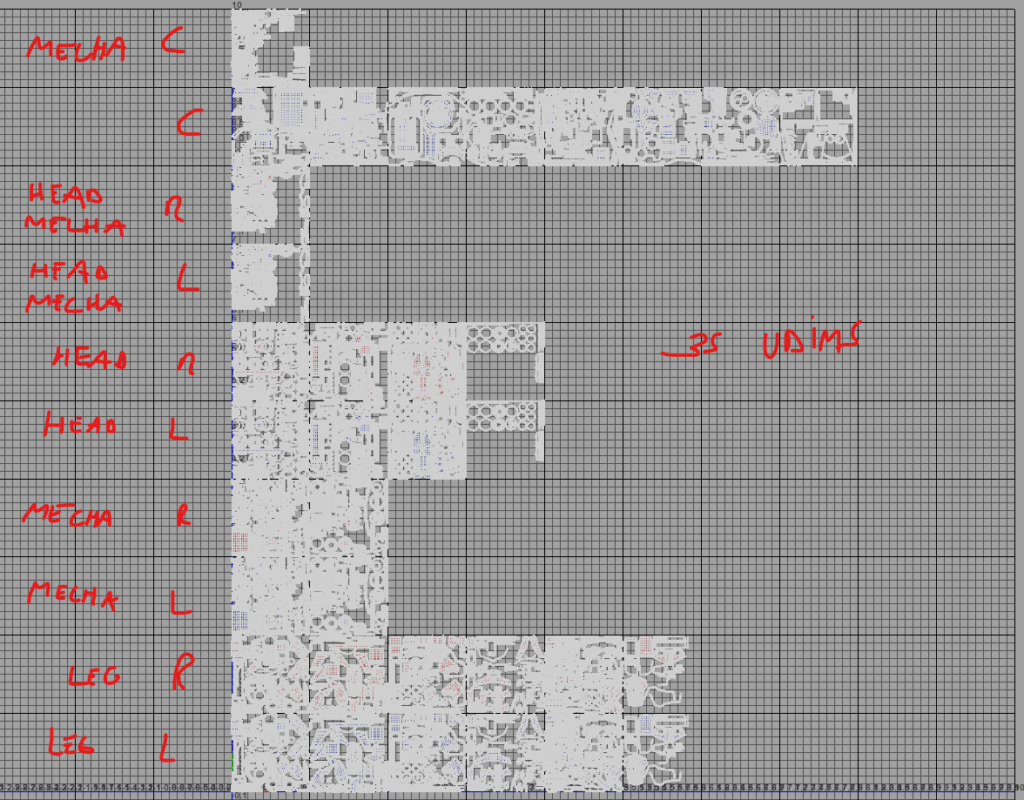
This is the retake from Andrew, about optimizing UV space better. It consists in moving the head panels UDIMs onto the leg panels UDIMs row, same for the mechanical part.
Final robot UDIMs
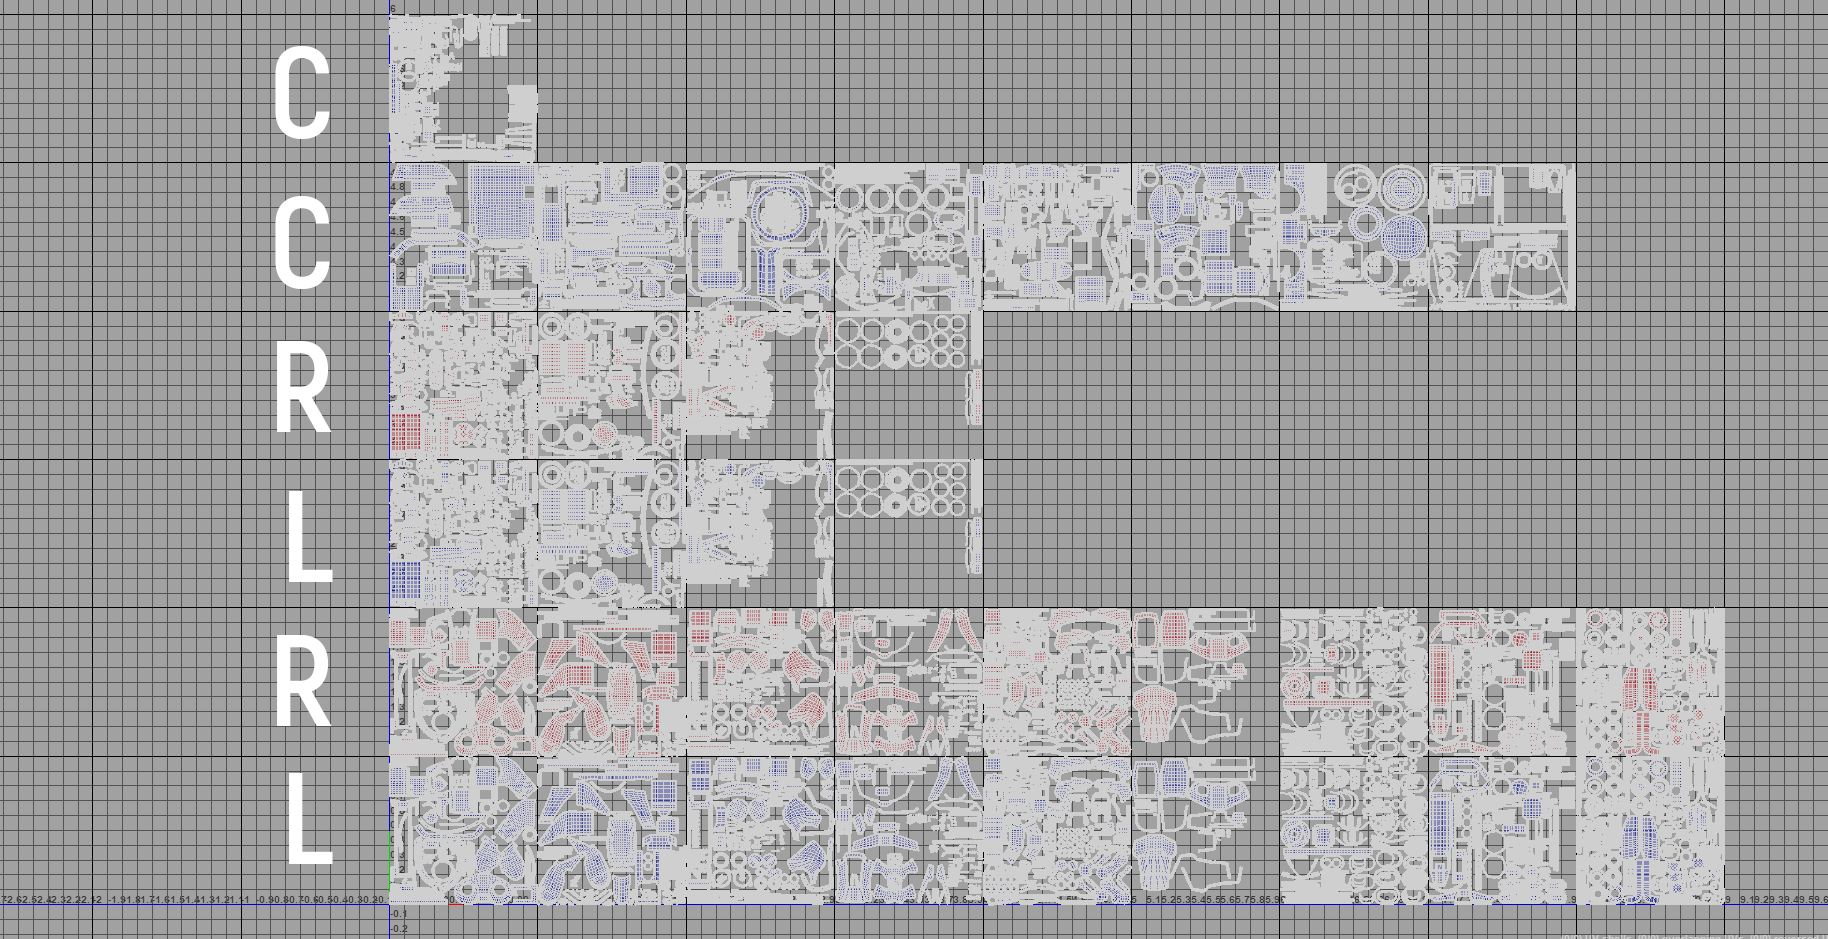
Here is the final layout for the robot (the cockpit is not included here). I took Andrew’s retake and reorganized my tiles, and now the layout is way more condensed.
Doing these UVs taught me the right way to layout everything, and the logical reason behind this method. It is efficient and coherent. Layout becomes easy once you got everything unwrapped, including kitbash parts.
I used the same method to do the cockpit UVs.