2025
The robot being fully done, it was time to finish the cockpit, that I put aside. We agreed with Andrew that a cockpit would add value to the asset, and it is always cool to do.
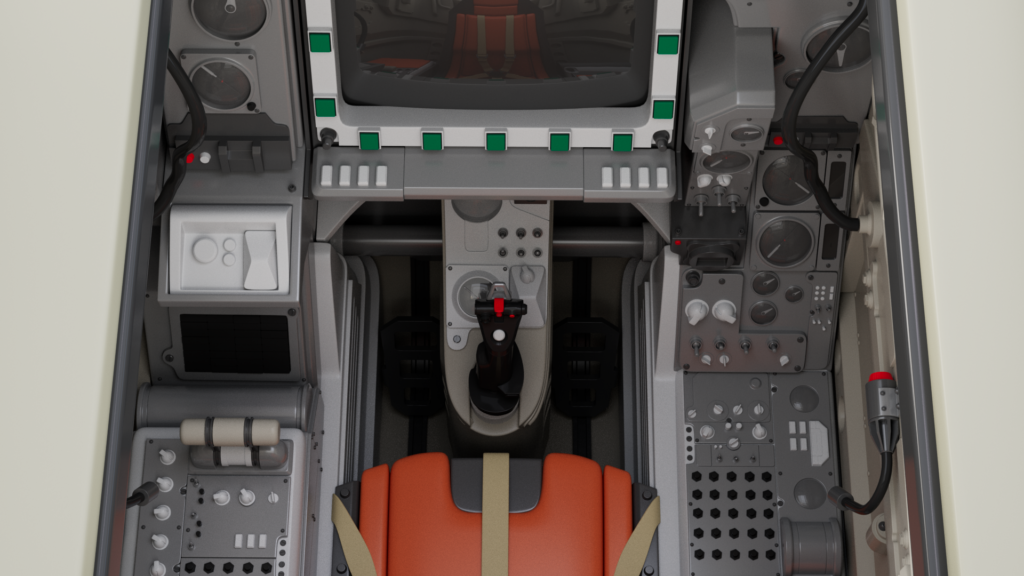
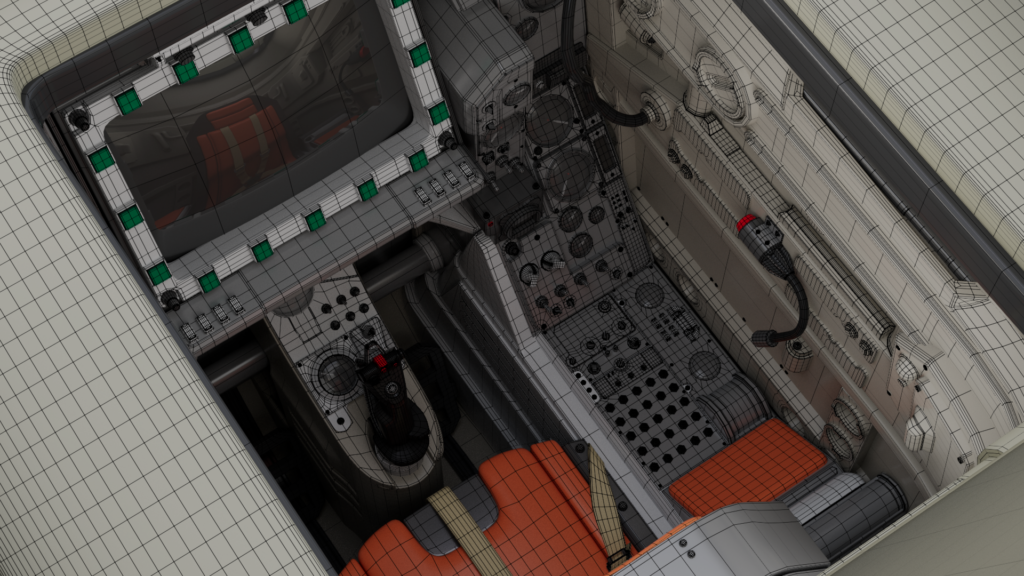
The cockpit is treated as an asset of it’s own, apart from the robot. The modeling process is quite similar as the robot.
Gathering reference
Gathering reference for the cockpit was really fun and instructive. I opted for an old plane cockpit style, liking the retro style of it.
Andrew suggested anime as a great ressource for cockpits, as I am not familiar with anime, I looked up some for cockpit reference and turns out Andrew was right. Anime cockpits are super cool.
Old plane’s dashboard were found on the internet, and I saw some nice photos in some books in my local library.
Blocking
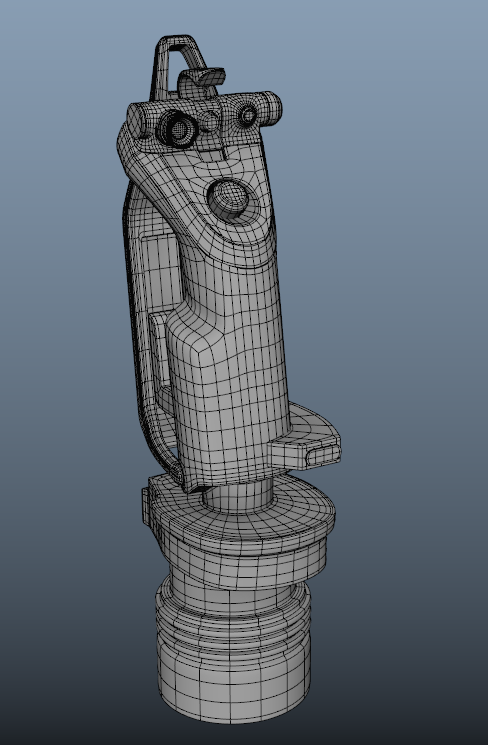
I started the blocking with the placement of some consoles, the seat, and added a human for scale reference. In the whole process, the cockpit’s proportions will quite change.

As you can see, the main body of the cockpit is quite narrow, and the center console is not in the center. The joystick was also misplaced.
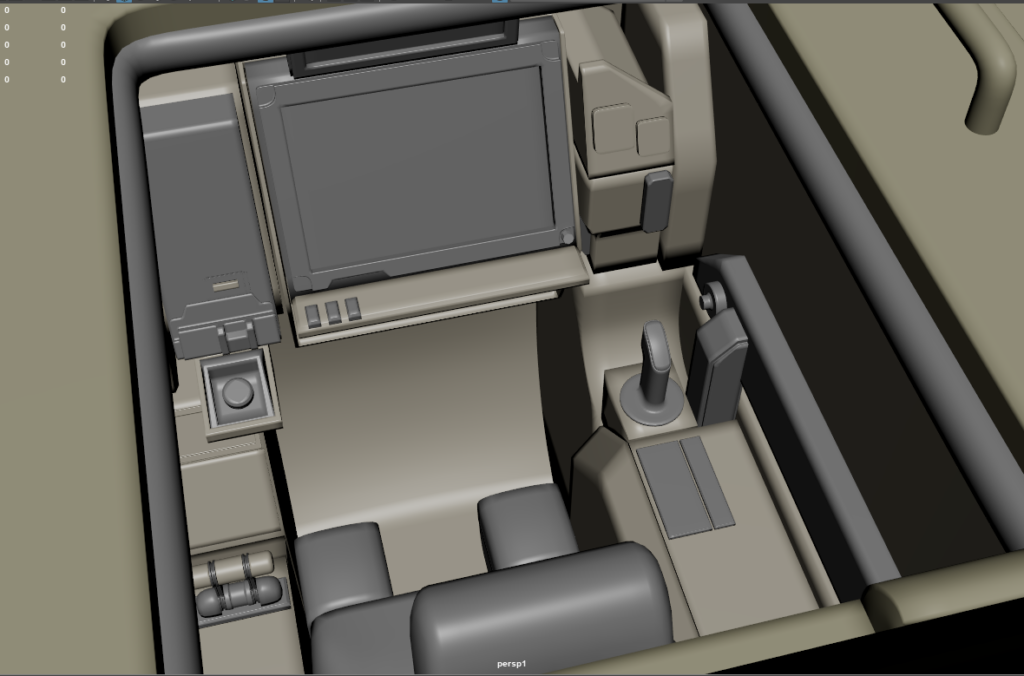
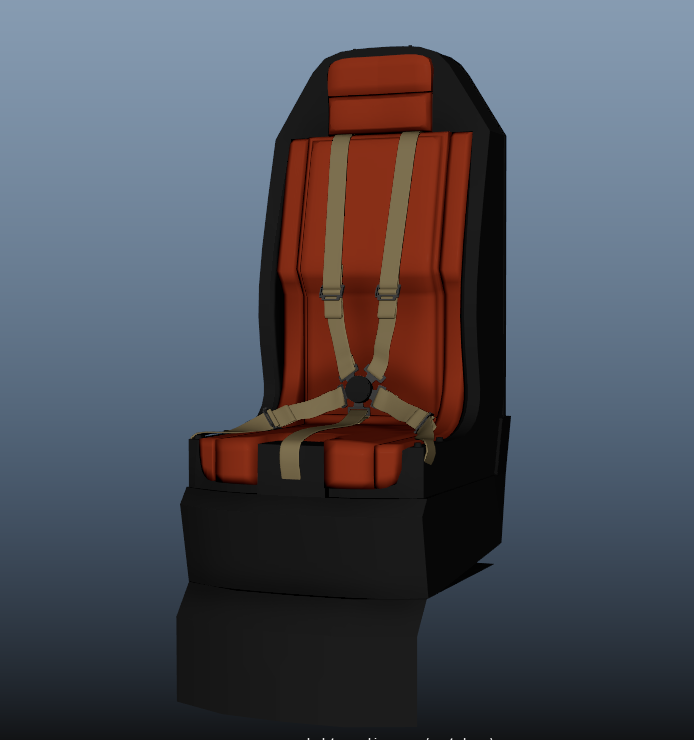
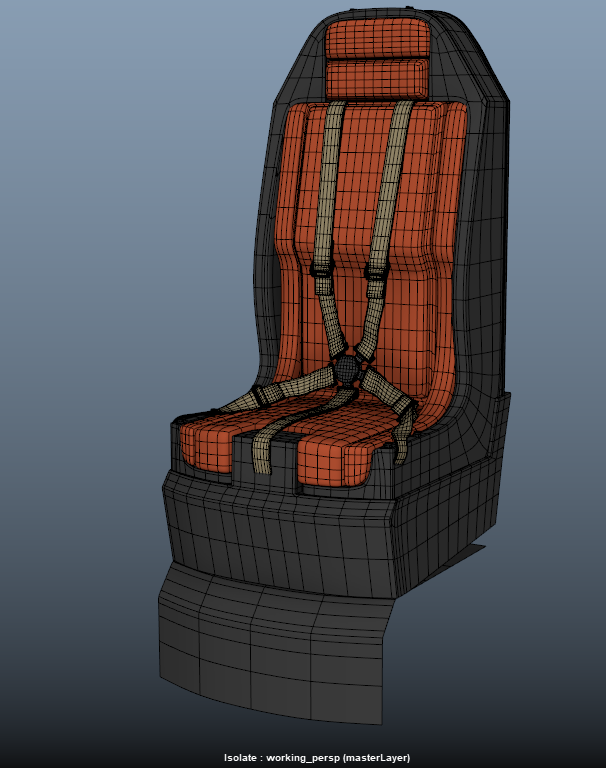
Here is the whole body widened, so that the pilot has more room to sit. Some consoles were added, as well as some structure elements on the wall. The seat is not in is final version, it took some time and tweaks for me to figure it out.
The introduction of a big and important element, the center console.
As the next steps of the blocking are mostly moving consoles, refining the seat, and making sure the proportions are right, let’s jump right to the refining part of the cockpit, and adding details to the walls.
Refining
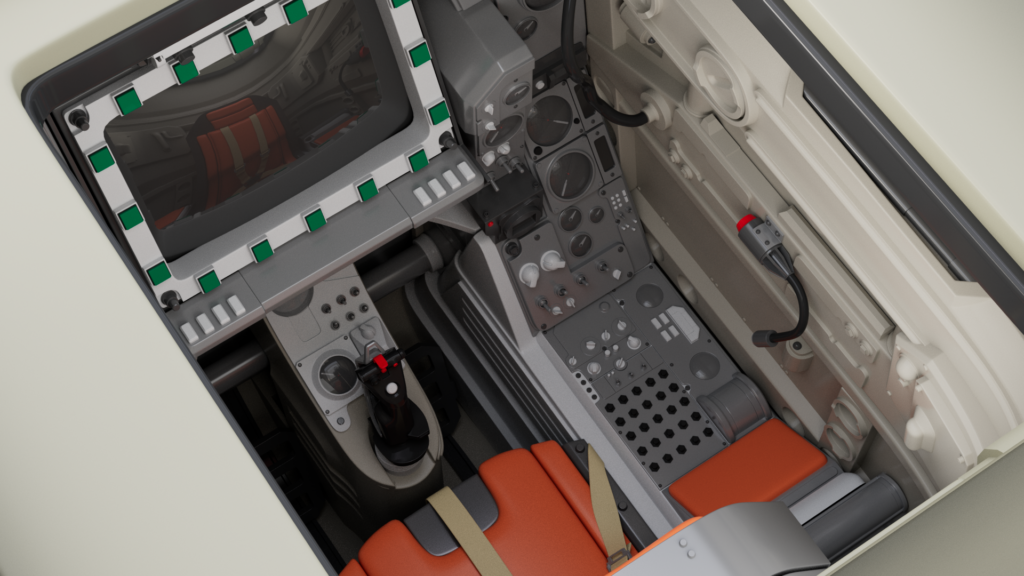
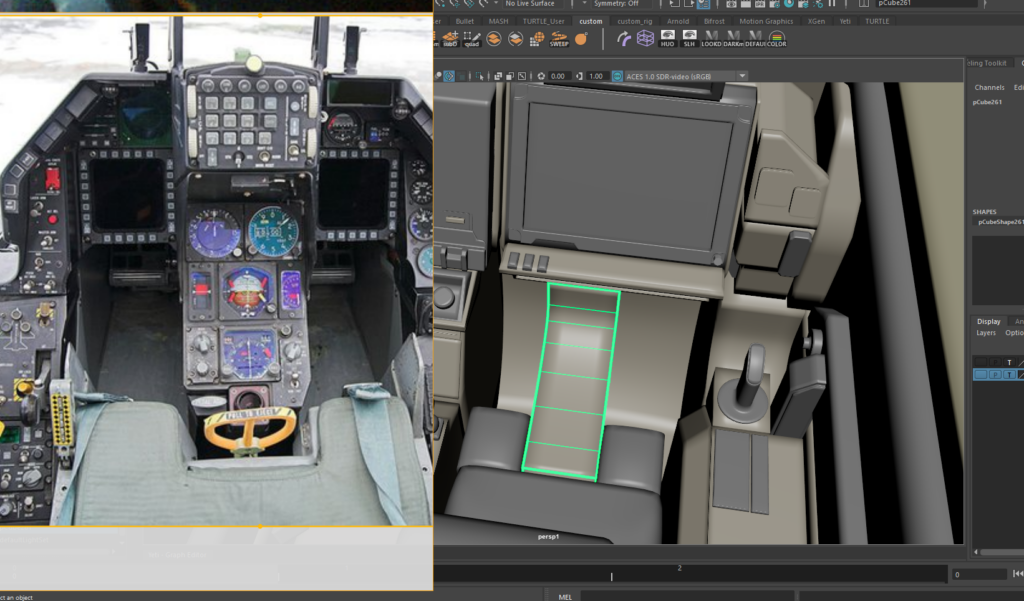
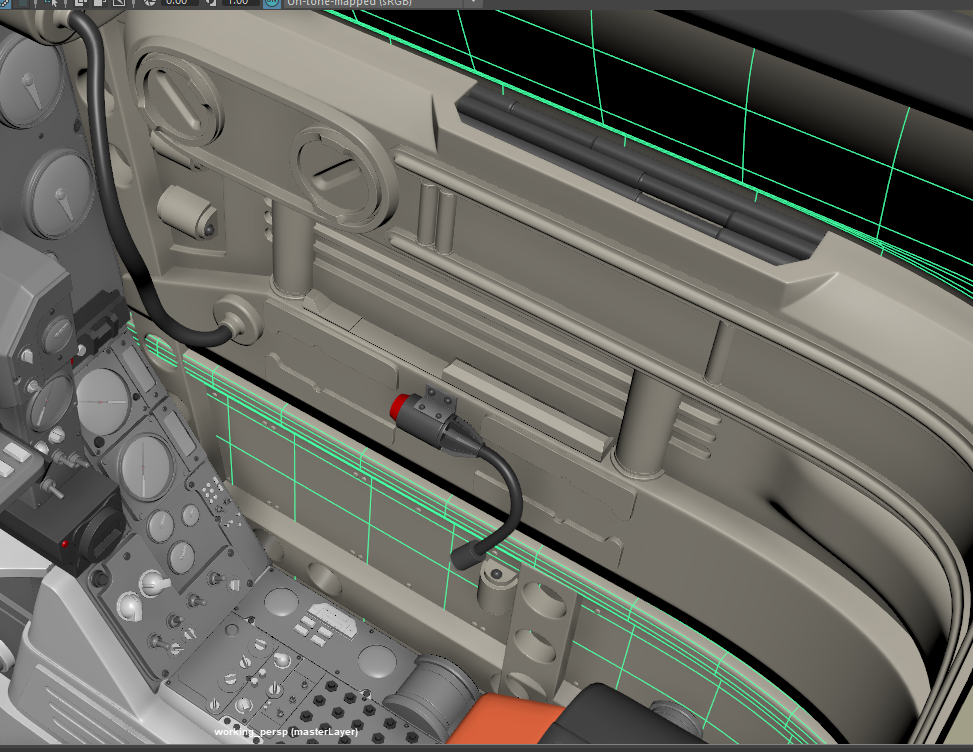
At this stage, all the console are in the right place, and I am starting to add details on the walls. Some material planning is also done, to get a better idea of everything.
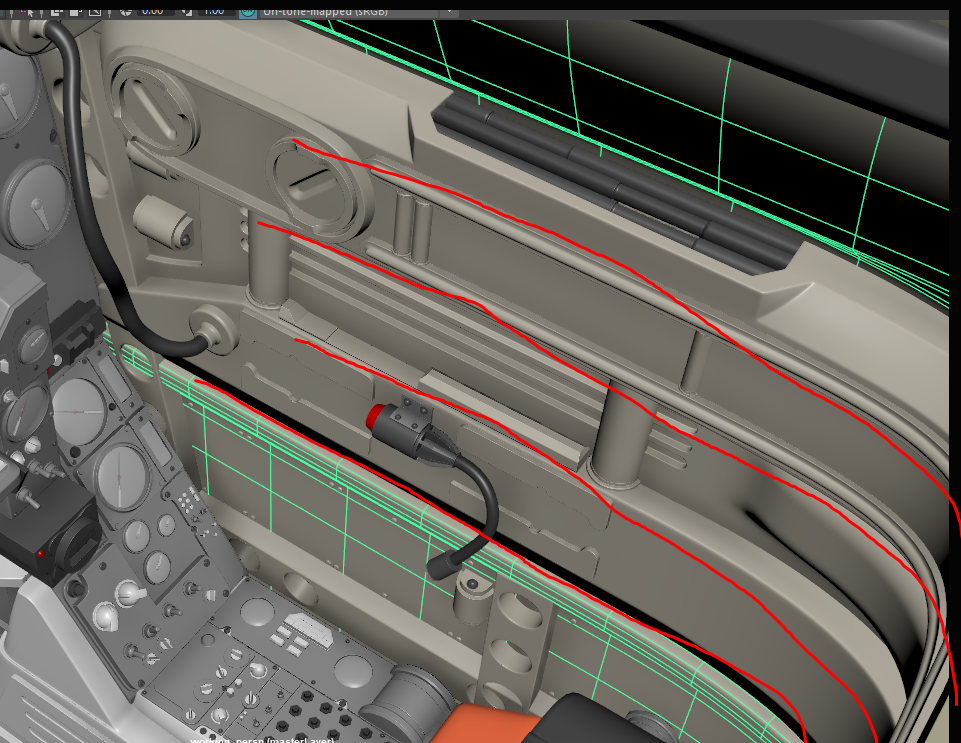
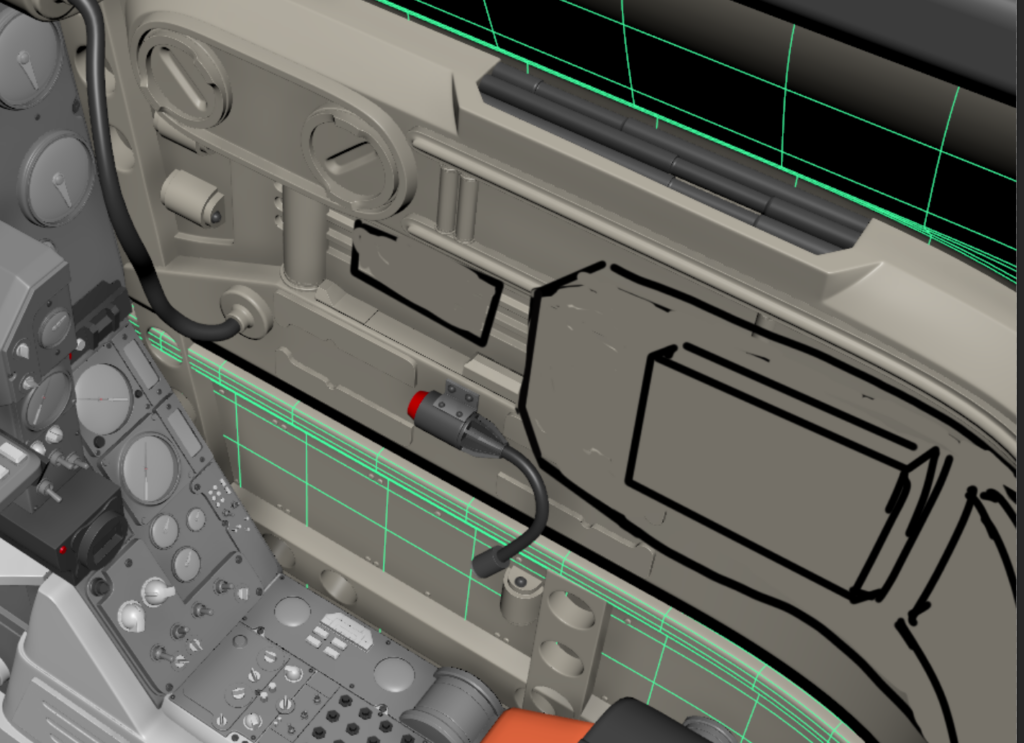
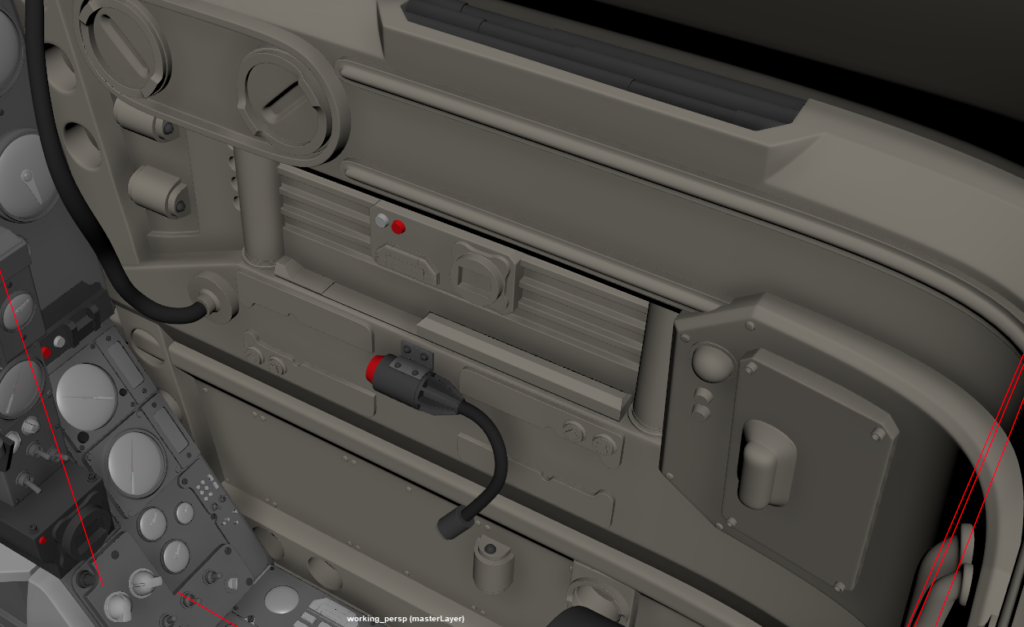
Here, you can see the buttons and the details I added, but the focus is on the wall. The first image on the left, is my try at the walls. The middle image is the first retake from Andrew, about the parallel lines, which were too visible, and needed some break up. The last image on the right is a proposition from Andrew, which I based my walls on, as you can see on the final image.
Some elements
Here are some elements which I want to show independently.

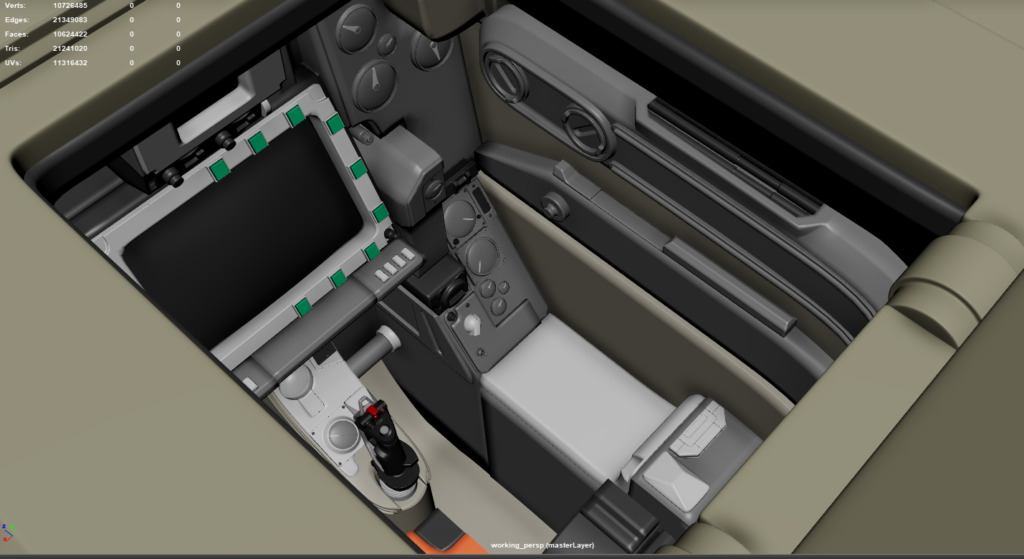
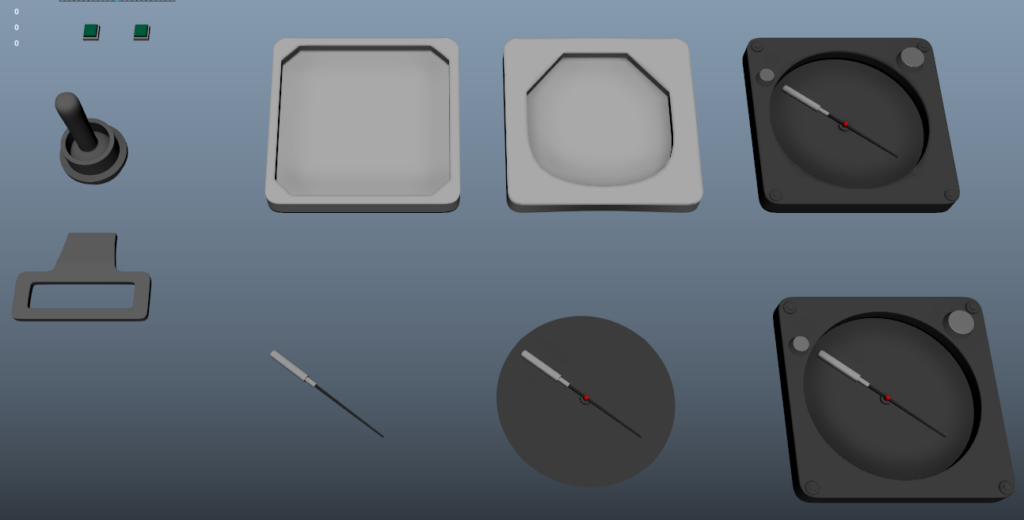
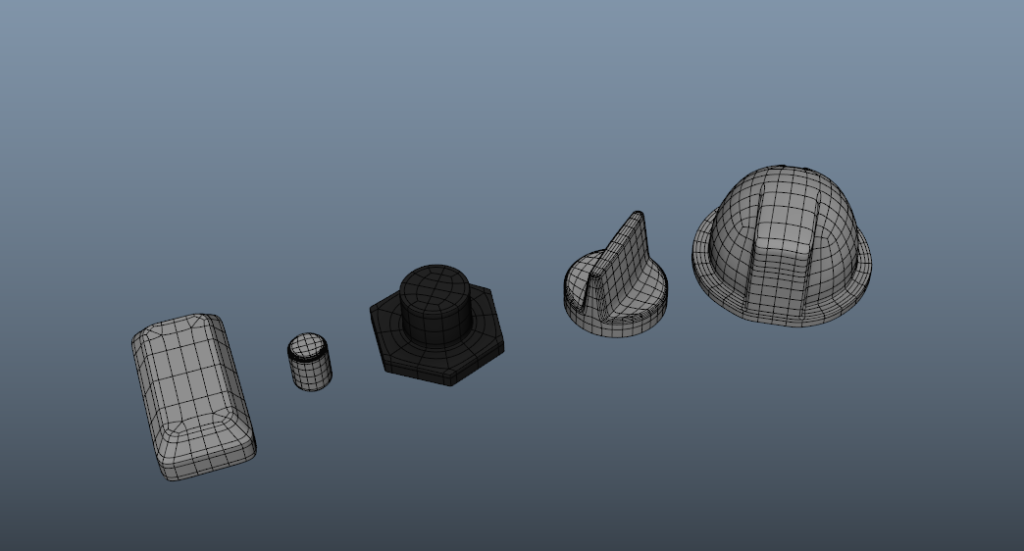
Kitbash
I created a small parallel kitbash kit for the buttons, switch and counters. All UVs were done before duplicating. Some of the counters and needles were created directly in the cockpit.
Conclusion
The construction of the cockpit was a step-by-step process, and took some time to get it right. In the process I learned many things, how to use kitbash as a tool for the walls for instance.
A lot of things generated creative problems, that I found solutions for I believe.
Next step are the UVs of both the robot and cockpit. The cockpit will be treated as a different asset, with UVs starting at 1001.
The texturing is not done yet.